



Organizing your camping and beach gear
20 July, 2026
If you're the type to turn the whole house upside down every time you need to find the beach chairs, the air mattress pump or that famous headlamp, this article is for you! We're sharing practical tips and advice to finally organize your camping and beach gear once and for all, so you get simpler departures, less stress and more time to truly enjoy the outdoors!
1. Gather everything in one place
Before we talk about bins, labels or apps, you have to start by taking everything out!
Gather everything related to camping and the beach in a single room:
- Tents, sleeping bags, sleeping pads and camping pillows
- Folding chairs, portable tables, hammocks
- Coolers, ice packs, camp dishes, stove, fuel canisters
- Flashlights, headlamps, lanterns, extension cords
- Beach towels, sand toys, beach umbrella, beach shelter
- Sunscreen, bug spray, first aid kits
- Waterproof bags, daypacks, carry bags
This overview lets you see what you actually own, what you have doubles of, what's broken and what's missing.
2. Sort and check the condition of each item
Before putting things away, take the time to inspect your gear. It's the perfect moment for some “basic maintenance”:
- Textiles: check the sleeping bags, tents and towels. Look for tears, stains and stubborn zippers.
- Lighting: test every light. Replace or remove batteries that are leaking or almost dead.
- Kitchen: make sure the pots, utensils and dishes are clean, with no excessive rust or missing pieces.
- Safety: check the first aid kit (expiry dates, missing bandages, disinfectant almost empty).
- Inflatables: check the mattresses, rings and floats. Partially inflating them often makes it quick to spot a leak.
While you're at it, make a little “To replace/to buy” list for the season: a sturdier beach umbrella, a new cooler, more ice packs, etc.
3. Group by zones of use
For the organization to last, group your gear according to how and when you use it, rather than strictly by type of object.
For example:
- “Night camping” zone: tents, stakes, sleeping bags, sleeping pads, pillows, headlamps.
- “Outdoor kitchen” zone: stove, fuel canisters, pots, dishes, cutting board, reusable tableware, cooler.
- “Beach and swimming” zone: towels, spare swimsuits, sand toys, beach umbrella, shelter, waterproof bags.
- “Comfort and relaxation” zone: chairs, hammocks, folding tables, extra blankets.
- “Safety and small essentials” zone: sunscreen, bug spray, first aid kit, wipes, garbage bags.
This “by occasion” approach makes packing so much easier: you grab one bin or one zone for each type of outing, instead of chasing down every category of object.
4. Choose suitable containers (that are easy to understand)
Good organization often rests on a few good containers:
- Clear bins: to see at a glance what's inside. Perfect for the beach, toys and towels.
- Sturdy bins with lids: for camping, especially if you store them in the basement, garage or shed.
- Soft storage bags: for sleeping bags, cushions and blankets, to save space.
- Small pouches: to hold small items (matches, bottle opener, pliers, pocketknife, carabiners).
Label each bin clearly, with words and/or icons (especially helpful for kids!): a drawing of a tent, a sun, a wave, etc. The goal: that even a family member less familiar with your system can find things, and put them back, in the right place.
5. Prepare “ready to go” kits
To make departures as simple as possible, put together a few turnkey kits that you don't take apart between outings, except to wash or refill them:
- Beach kit: a bag ready to go with towels, sunscreen, hats, a few toys, waterproof bags, wipes.
- Camp kitchen kit: a small bin with dishes, utensils, can opener, sponge, biodegradable soap, dishrag.
- Light kit: flashlight, headlamps, spare batteries.
- Mini first aid kit: bandages, disinfectant, tick remover if needed, basic medications.
When it's time to leave, all that's left is to add the food, water and the day's clothes, instead of rebuilding everything from scratch.
6. Set up a dedicated storage spot
Ideally, set aside a specific corner of the house for all your outdoor gear:
- A shelf in the garage or basement
- A dedicated cupboard
- A section of the shed, with the bins stacked and labeled
The most important thing is that it's accessible. If the bins are stuck behind ten other things, you'll be tempted to improvise and the organization will quickly go out of date. A dedicated spot also makes it easier for the kids to take part: they know where to put the beach toys or towels after the outing.
7. Update after every outing
Finally, get into the habit of doing a quick wrap-up when you get back:
- Empty the cooler and let it dry open
- Wash the towels and put the complete beach kit back together as soon as they're dry
- Note what's missing (e.g., “no more sunscreen in the bin,” “mattress to check”)
- Put each item back in the right bin or zone
This short 15-minute stretch when you get back saves you from unpleasant surprises next time, and makes it easier to say yes to a spontaneous getaway.
Well-organized camping and beach gear means less time spent searching, less money wasted on duplicates, and above all more lightness when it's time to go. You know what you have, where it is and what condition it's in. All that's left is to enjoy the sun, the campfire and the sound of the waves! 🏖️
Put these tips into practice
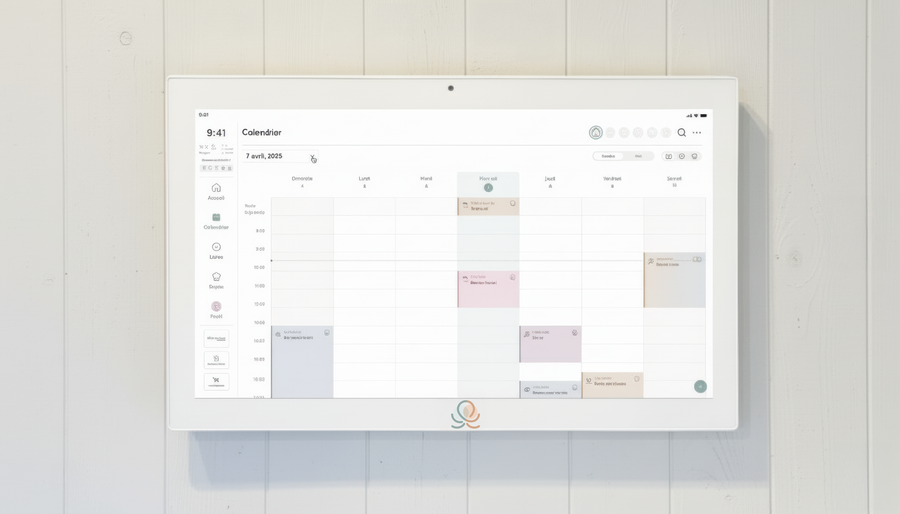
Get the whole family organized with Octave
Meals, chores, the calendar and routines for the whole family in one place: on everyone's phone and on the Station on your wall.
The app is free on iOS and Android.